This project was born from a camping with my better half and a group of friends. These friends are not of our prepper mindset and as such had no way to recharge their phones, batteries or run any kind of device that required power.
If you’re interested in a done-for-you option check out my favorite pick at Amazon.
(Personally, I welcome the screen-free days.)
We were camping for 5 days so it wasn’t long before they started to come to me to use my inverter. I normally have a small 150w stashed in the trunk for emergencies, or times like these.
On the last day of camping, we got into a discussion on the number of batteries we had all gone through over the 5 days and how much it had cost us…needless to say I wasn’t happy at the final figure and decided that for the next trip, I would have something that would save us all money and would preferably be free.
The idea for a portable solar generator was born!
This was my first foray into solar power, though I have an interest in solar power generator for homes.I wanted to share this with you to show how easy it can be done, and why you shouldn’t be afraid to get your hands dirty with solar power.
My Requirements
First up I made a list of my requirements;
- Has to be portable – large deep cycle batteries were out unless I wanted to drag a trolly with me and that would pose a problem fitting it into the car.
- Has to power anything that requires a USB and/or DC connection – I didn’t need to power any A/C appliances such as a refrigerator or a television.
- Should look inconspicuous and not out of place in a home, car or tent – this project was also for post SHTF moments and I wanted to have it to hand without guests asking questions.
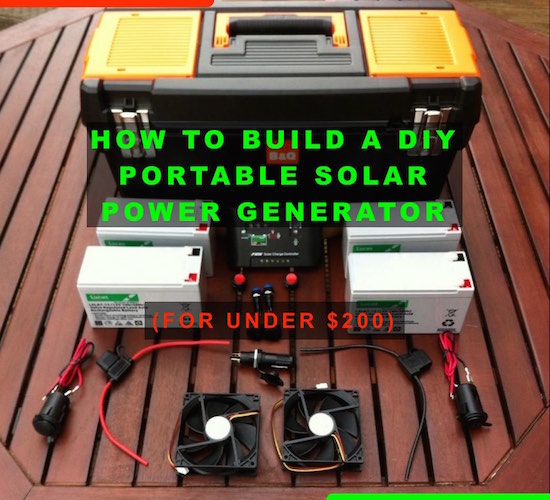
Here is what I came up with – the finished product.
My discrete Portable Solar Generator – using a simple toolbox!
What follows is a list of materials and tools used to construct. (note – all of the products were purchased via Ebay UK, the same or similar can be had from Ebay.com)
Materials List
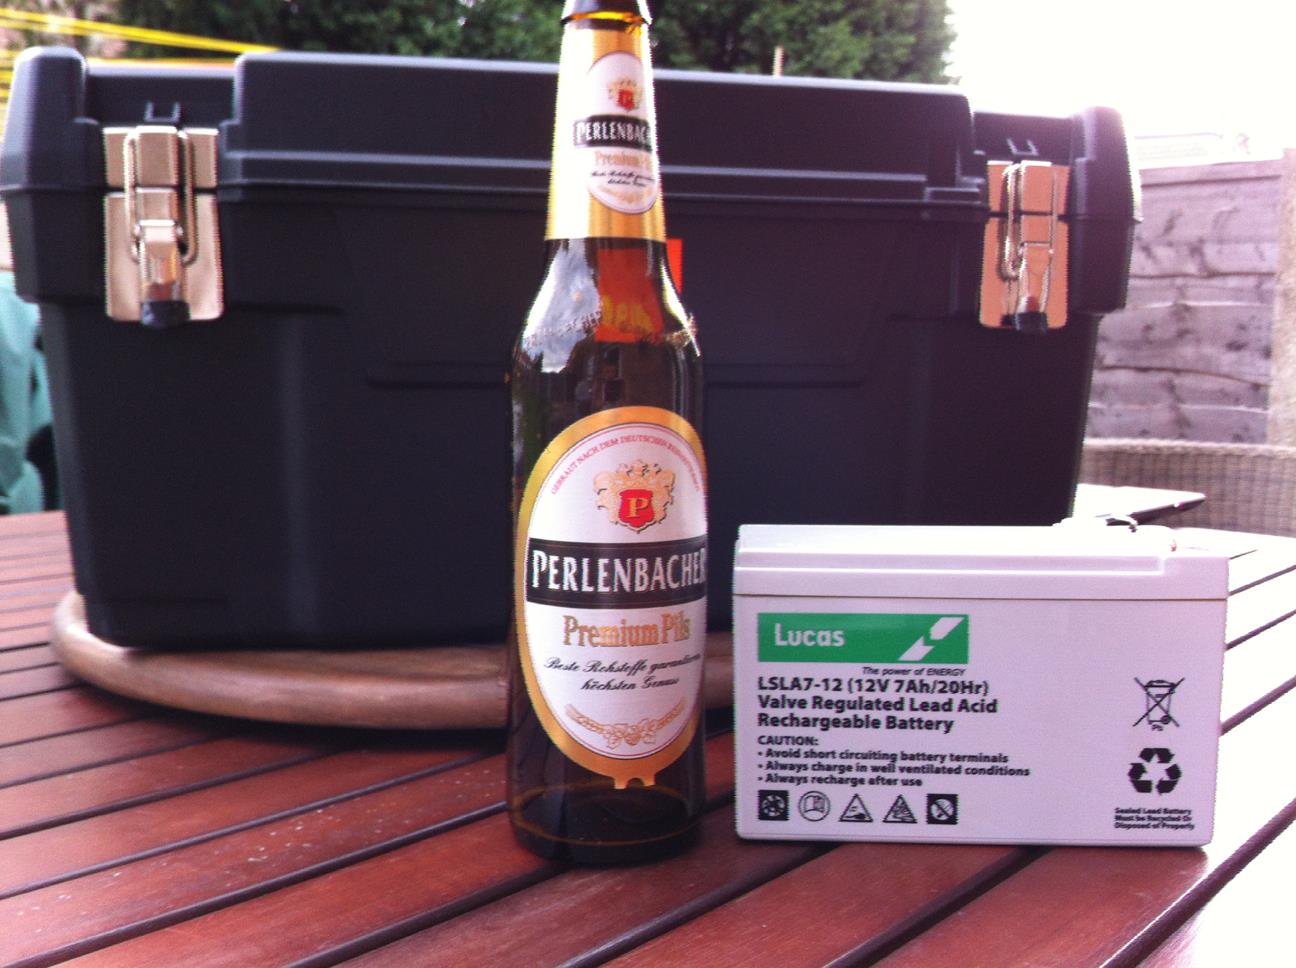
- 4x Power Sonic 12v 7ah Deep Cycle Batteries
- 36x A Grade Solar Cells (inc Flux Pen, Tabbing Wire & Bus Wire)
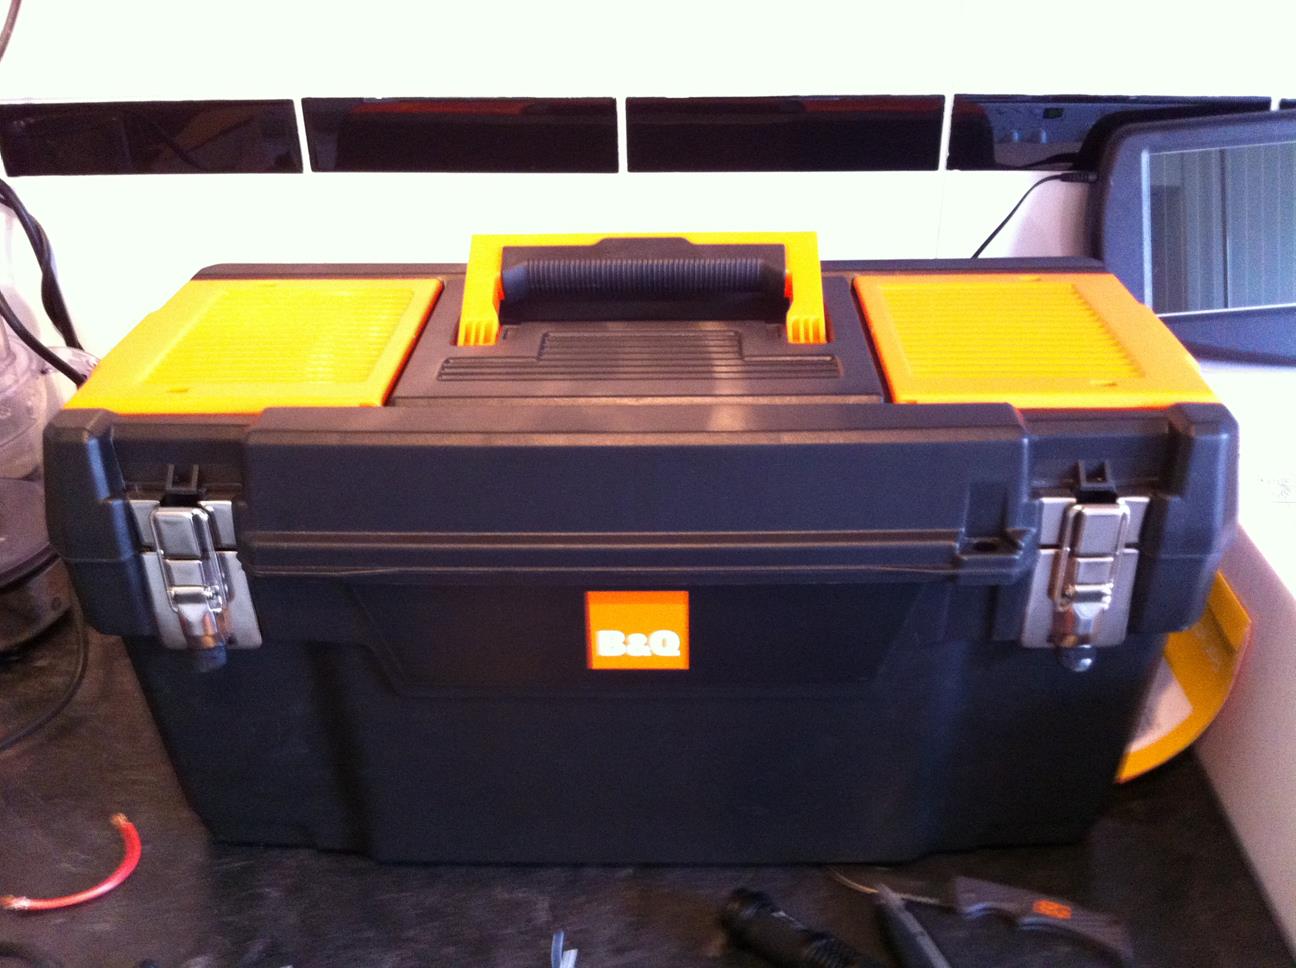
- 20″ Tool Box
- Hella Socket & Plug
- 12v DC Socket
- 12 AWG Wire Black (2m)
- 12 AWG Wire Red (2m)
- Inline Fuse Holder
- 10amp PWM Charge Controller
- Digital Watt Meter (Battery Power Analyser)
- 100x Male & Female Spade Connectors
- 4m 5mm Wide Bus Wire
- 8m Tabbing Wire
- 2x Blue LED Rocker Switch
- 2x Red Rocker Switch
- Chocolate Block Connector
- 2.4w 12v Trickle Charger
Tools Required
- Digital Multimeter
- 80w Soldering Iron
The total cost for the project so far is around $200, including the 30 watt solar panel I am in the process of making. You can save money buying from the online auction sites such as Ebay.
The Build
Here we have all of the major elements that will be going into or onto the tool box.

All of the components
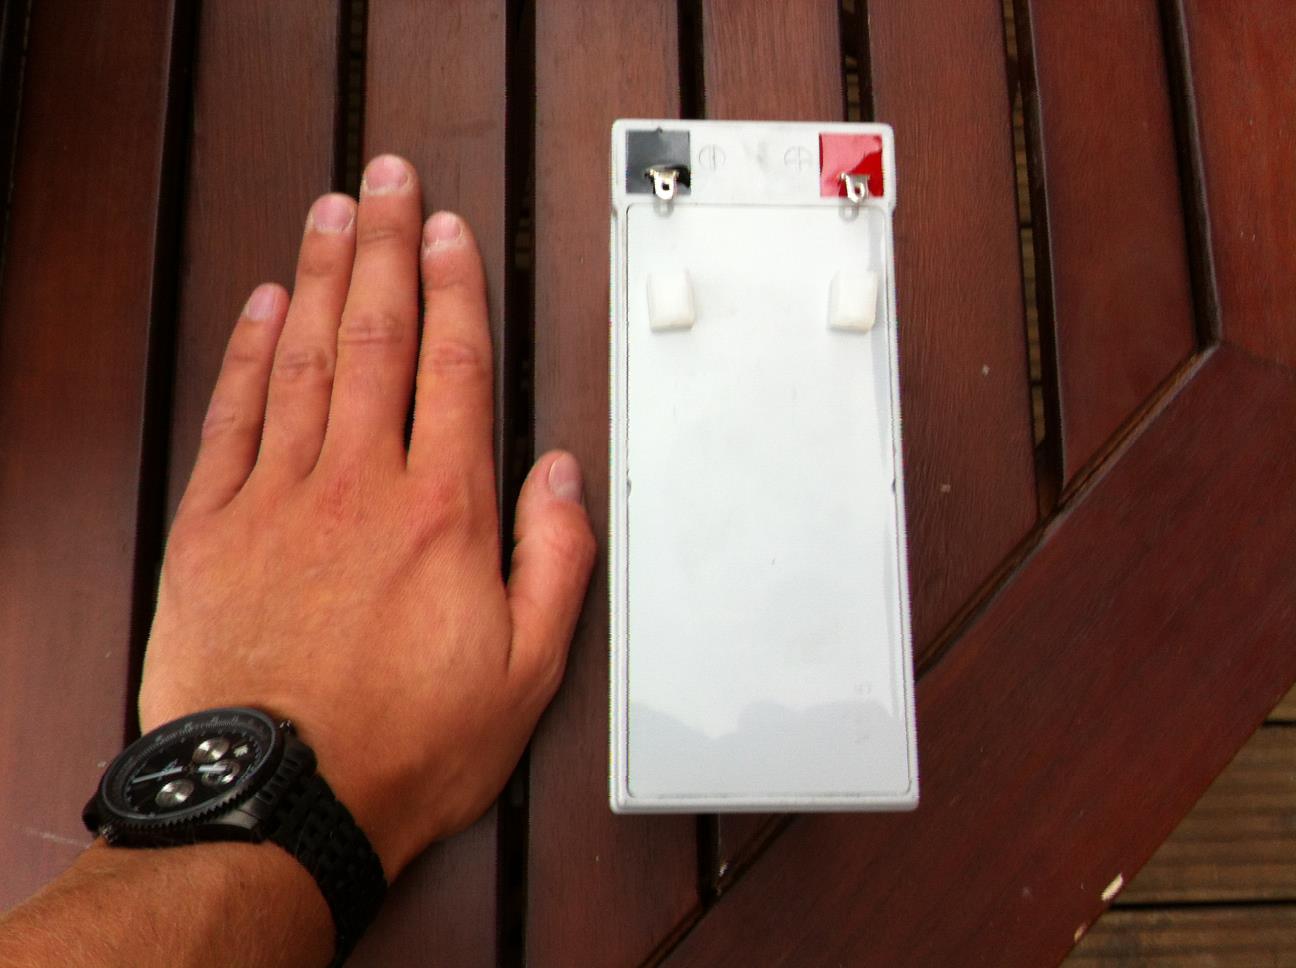
Next a shot of 1 of the 4 batteries I used, these are 12v 7ah batteries, normally used to power electric bikes, scooters and toy cars.
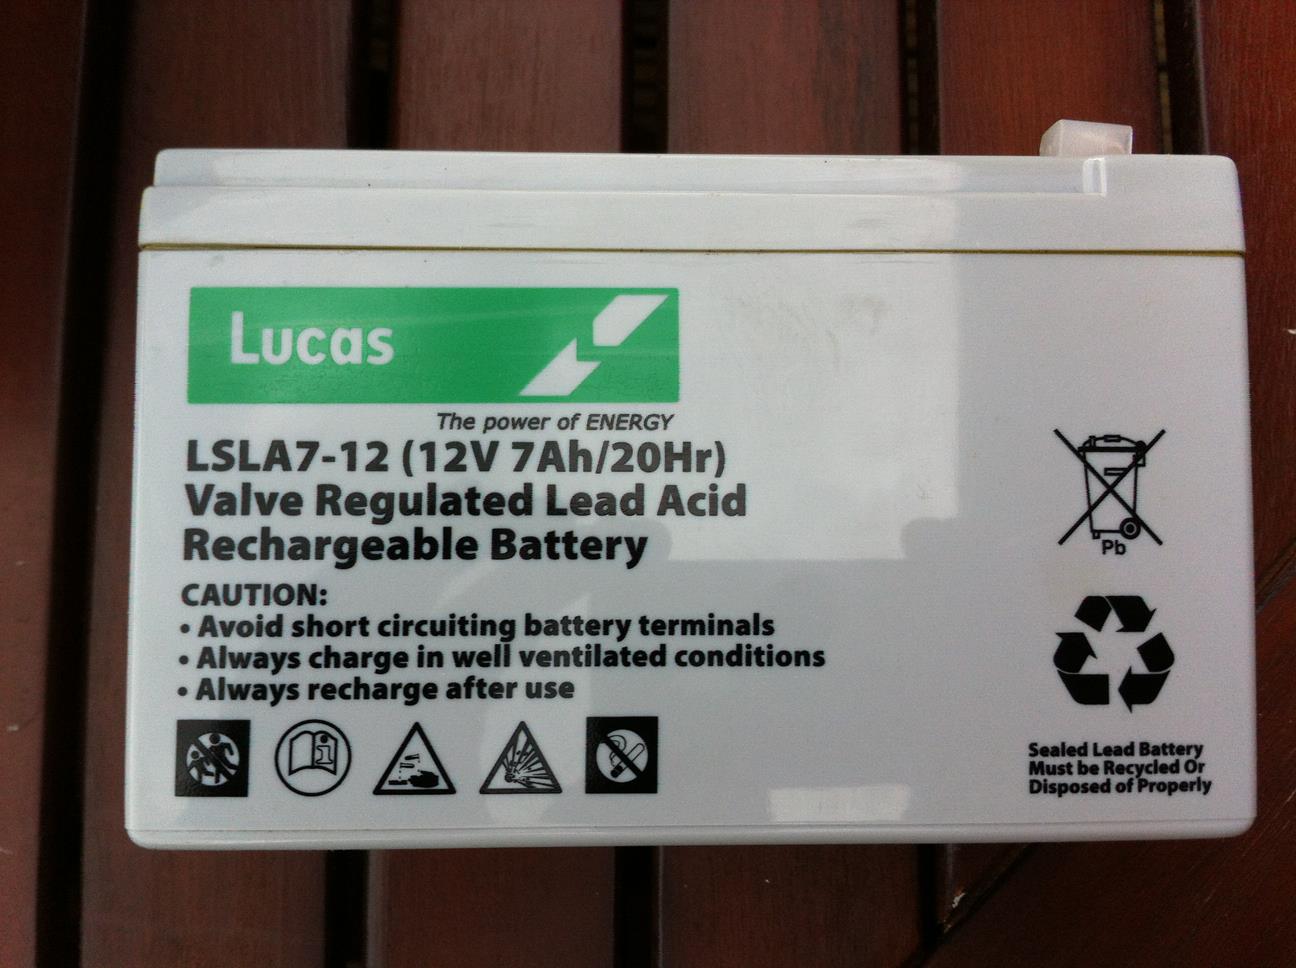
One for scale!
Small batteries make for a lightweight & portable system
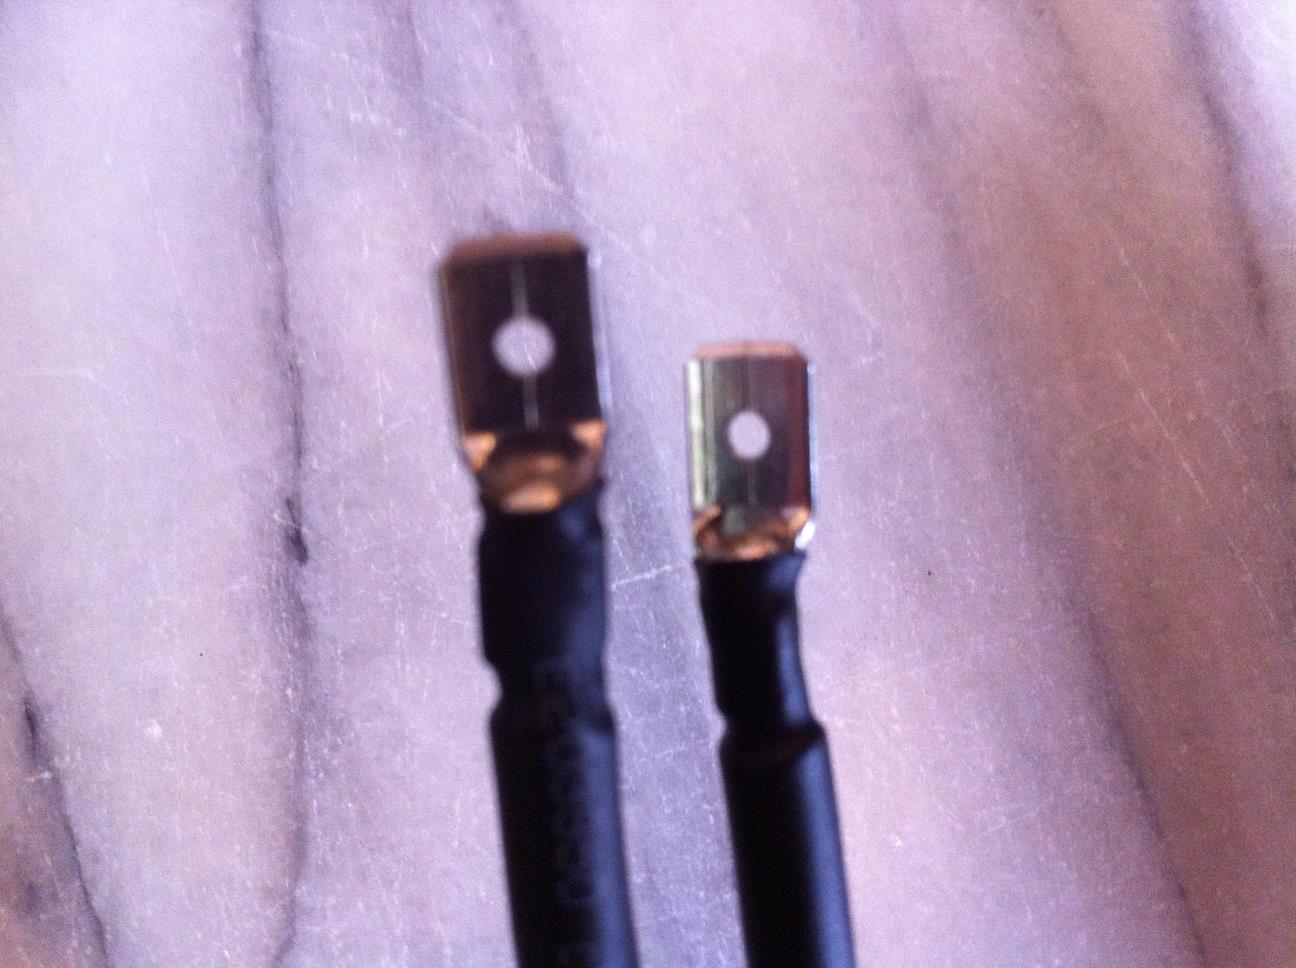
You can see the terminals used on the top which make connecting wires very easy with female spade connectors.
Spade connectors on batteries
Here is a close up of the digital battery power meter I picked up for around $25 on Ebay.

Digital multimeter
It didn’t come with any connectors so I had to add spade connectors and heat shrink to make it look nice!
New spade connectors

- Modified Power Analyzer with easy to connect spade connectors
Here is the second charge controller I bought as the first didn’t work 
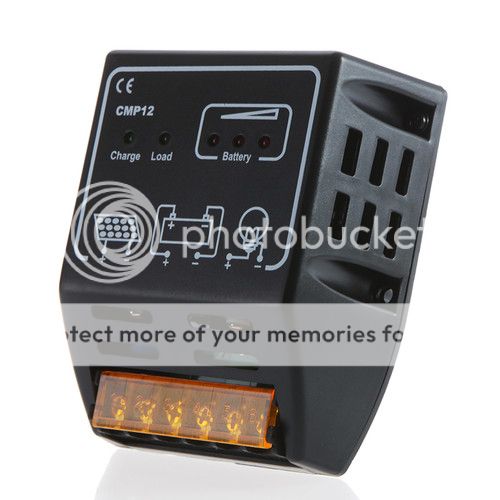
Charge Controller – Controls the power to and from the batteries and solar panel
Next up we have the Hella socket and plug
Hella Socket (Male & Female)
The 2v DC sockets and switches installed in the lid (which has the orange cover) My Dremel tool made this so easy!
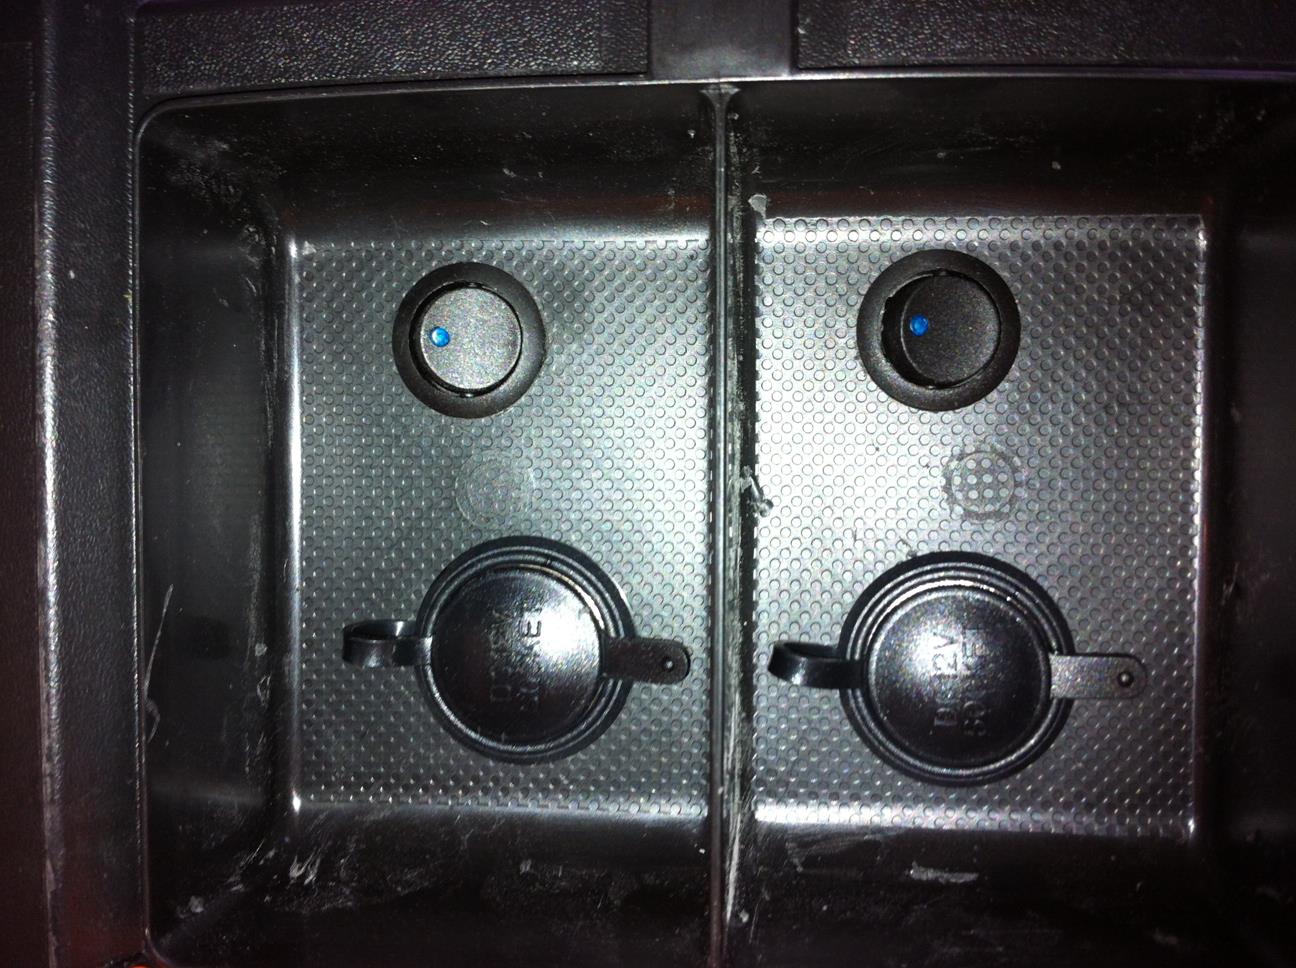
DC Sockets Installed – via Dremel hand tool
My master power switch and power analyzer under the lid on the opposite side to the 12v DC plugs

Mains Switch & Power Analyzer
Here’s how it looked underneath
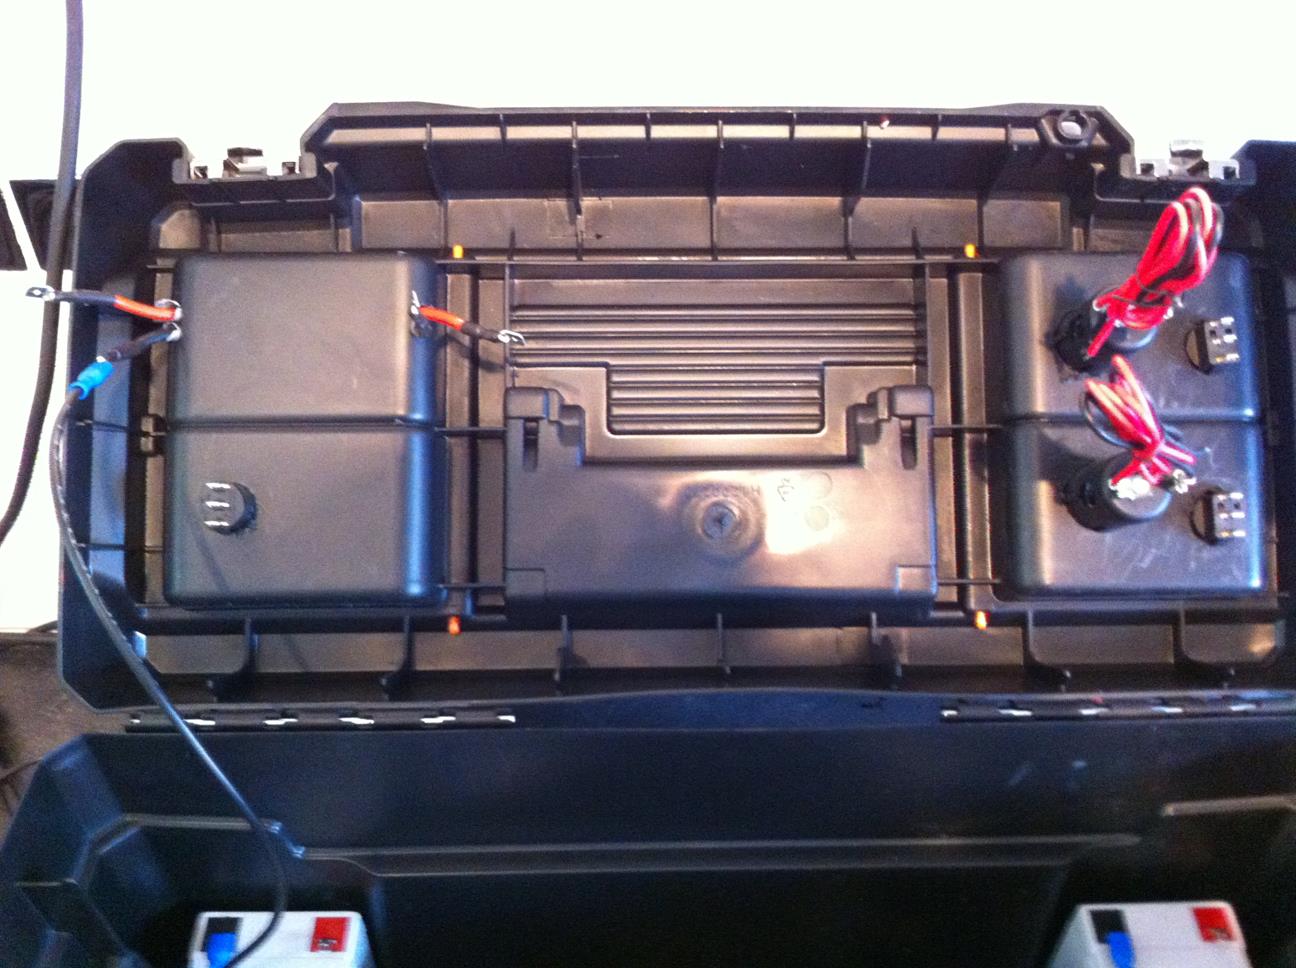
Underneath the lid
Then I wired the 4 batteries in parallel (which keeps the voltage the same at 12v but multiply the amp hours (ah). 4x 7ah gives me 28ah…simples!

Batteries Wired in Parallel
I also added a 12v inline fuse which you can see in the image above, this is between the battery bank and the master power switch.
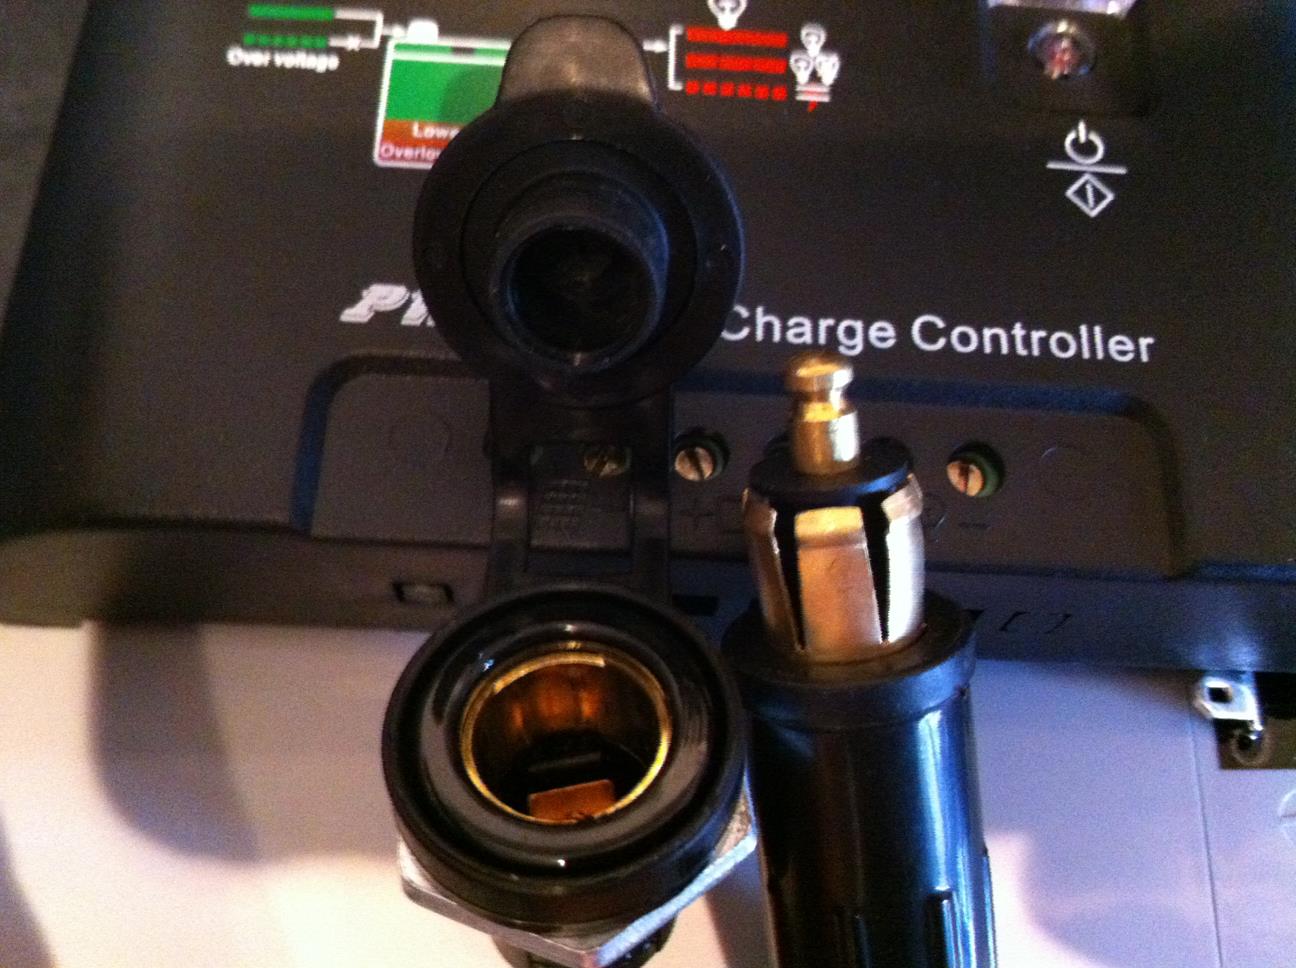
Here is a close up of the Hella socket installed
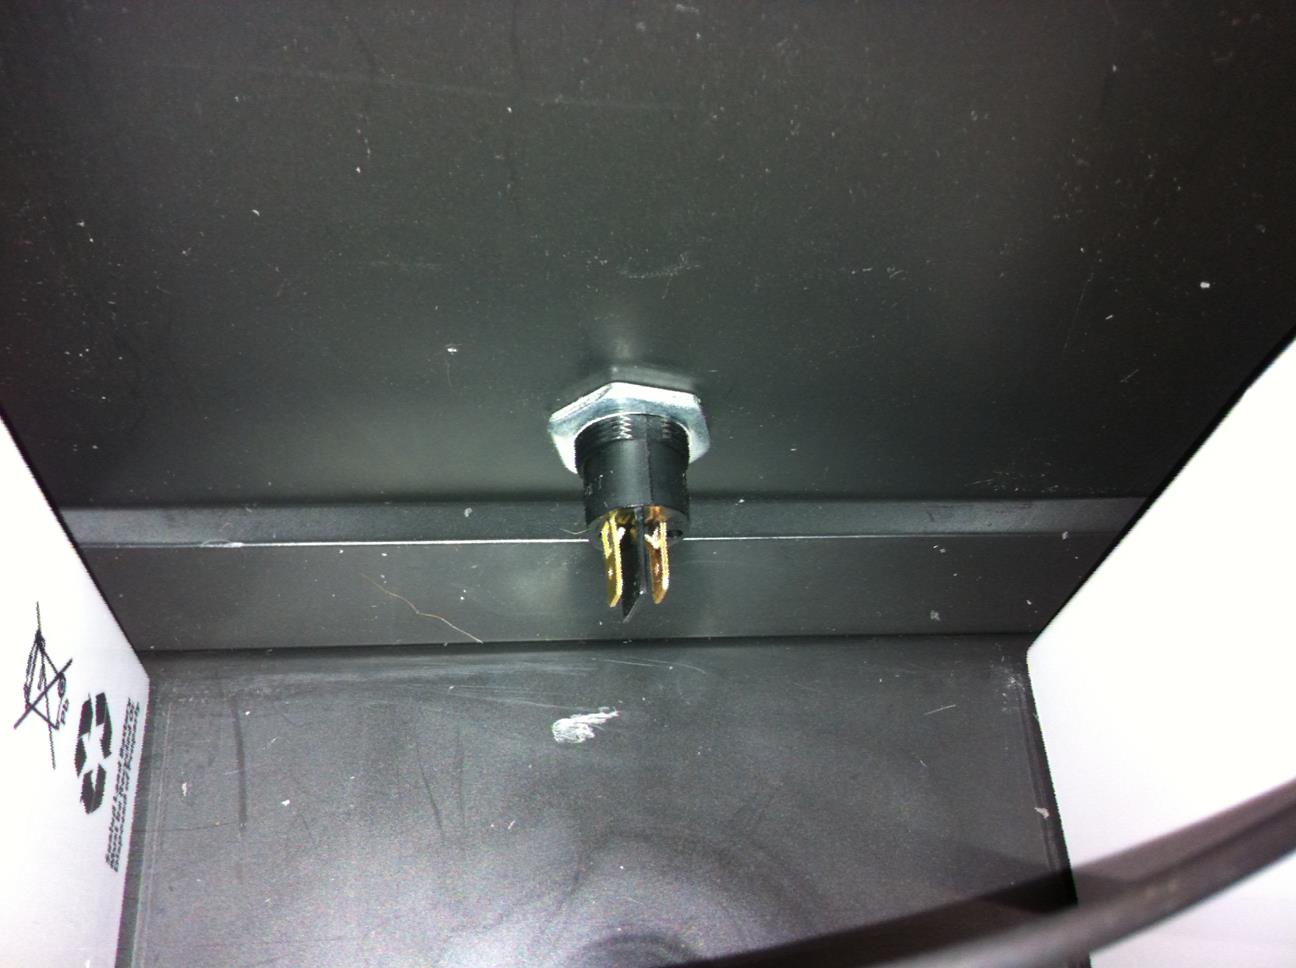
Hella Socket from the inside
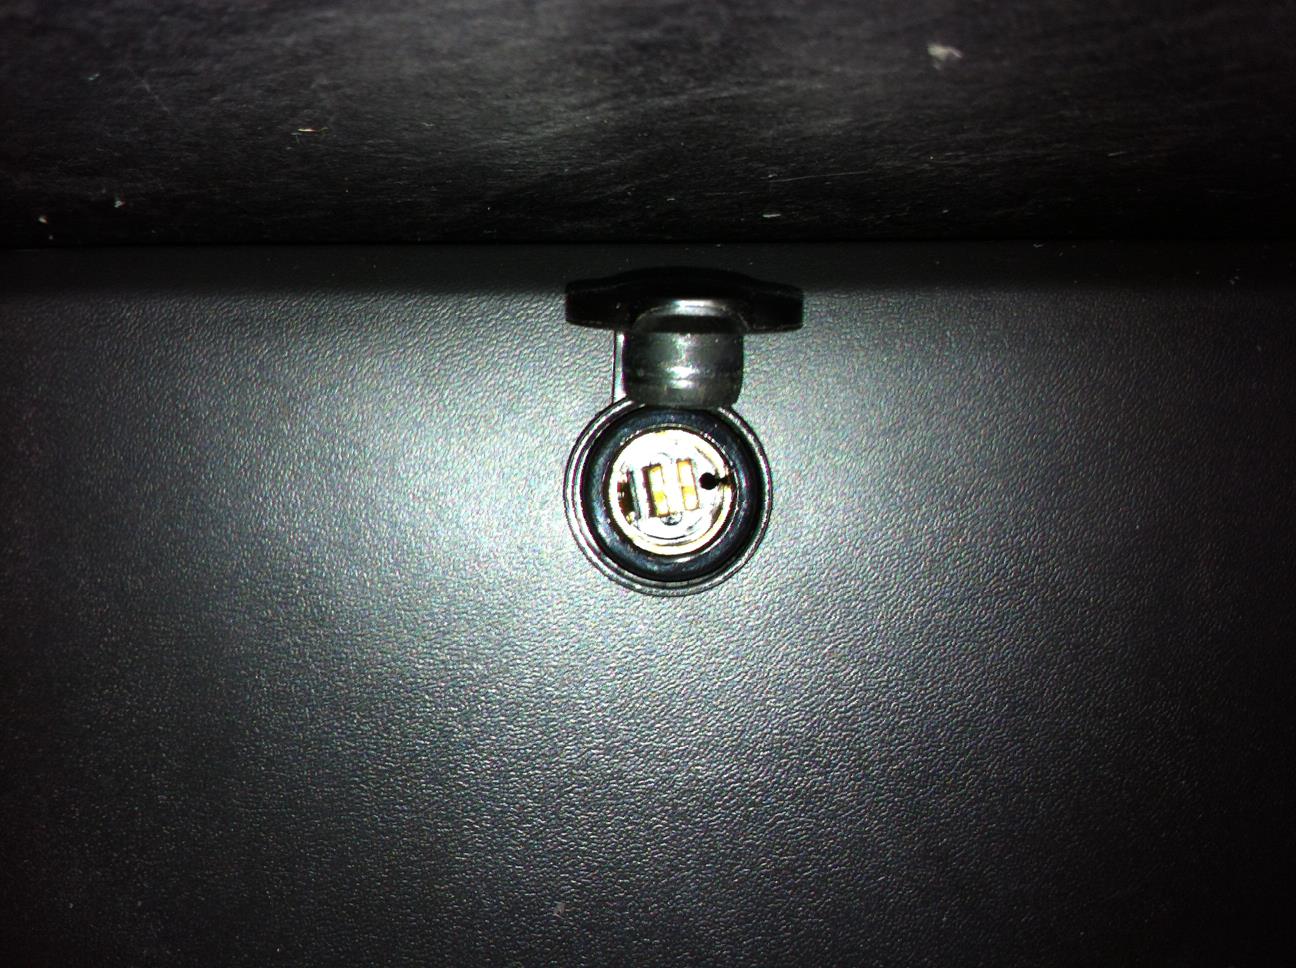
Hella Socket from the outside – here is where the solar panel will connect
And one of the 2x 12v DC sockets along with blue LED switches to show me they are on and working!
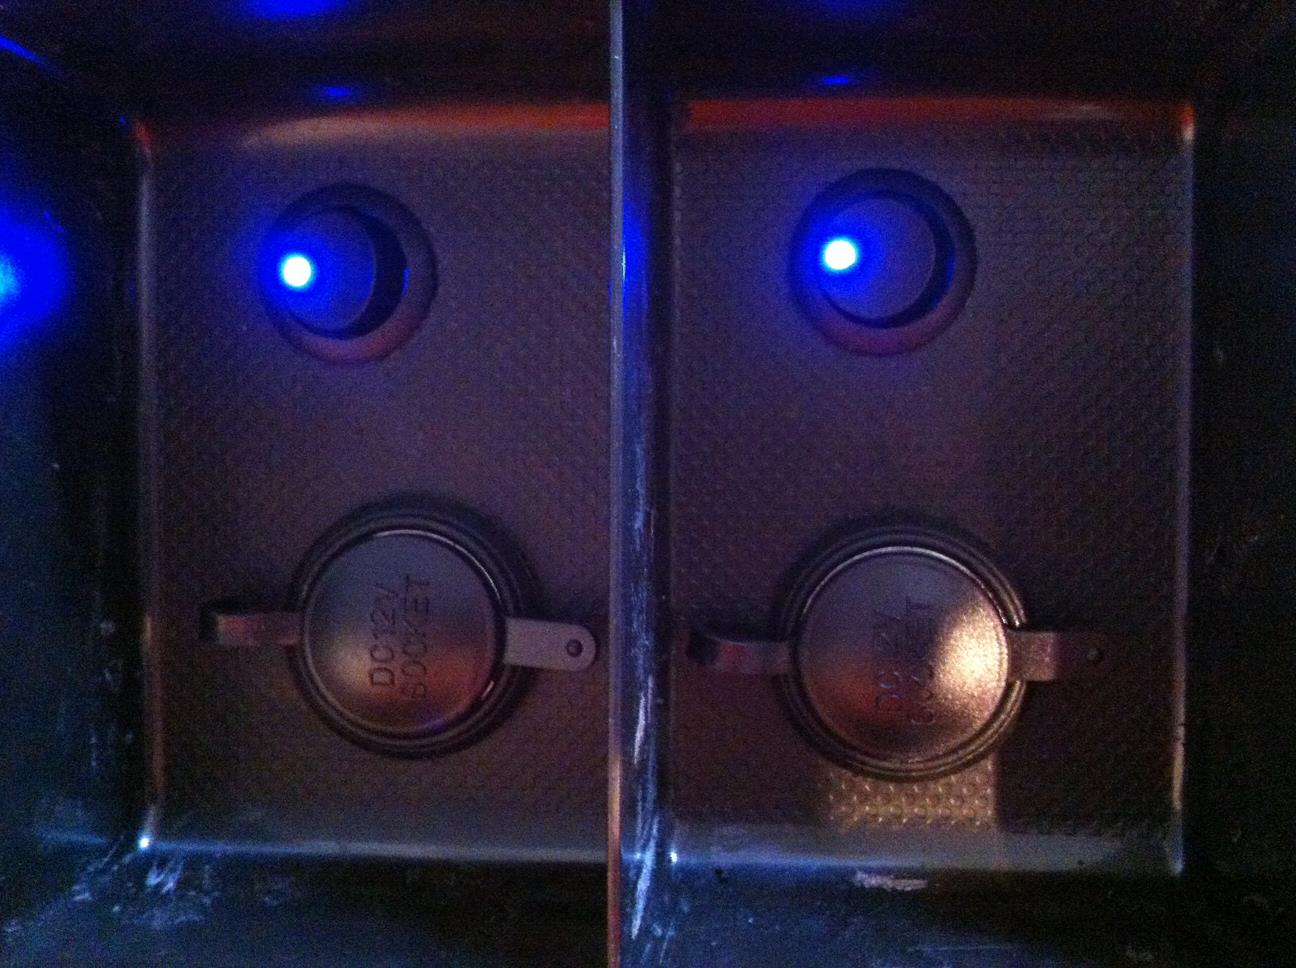
DC sockets Installed and working!
Here is my second charge controller (working this time)
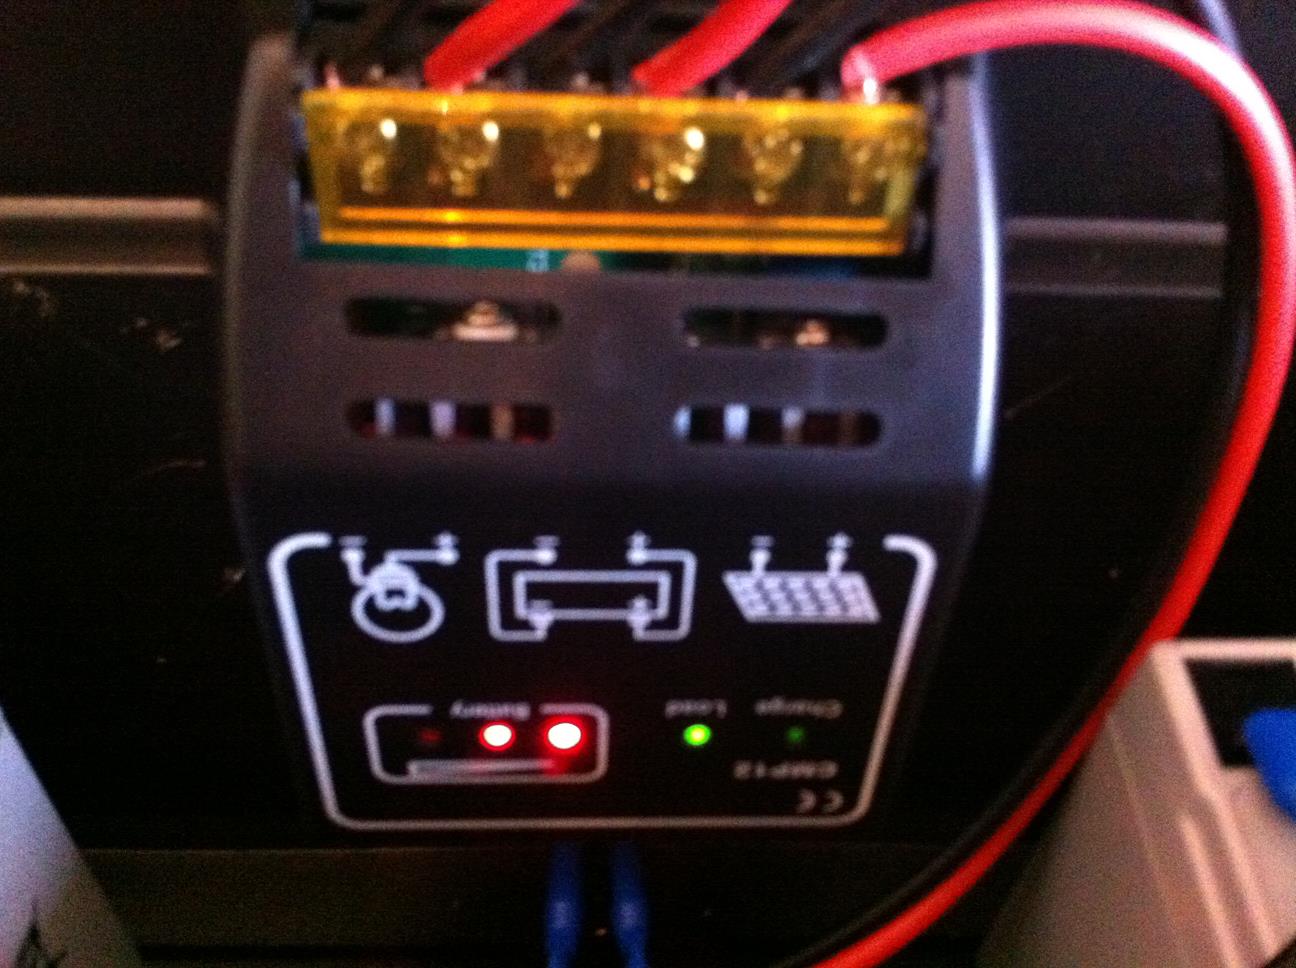
Working charge controller
The Power Analyser installed next to the master switch…we have power!
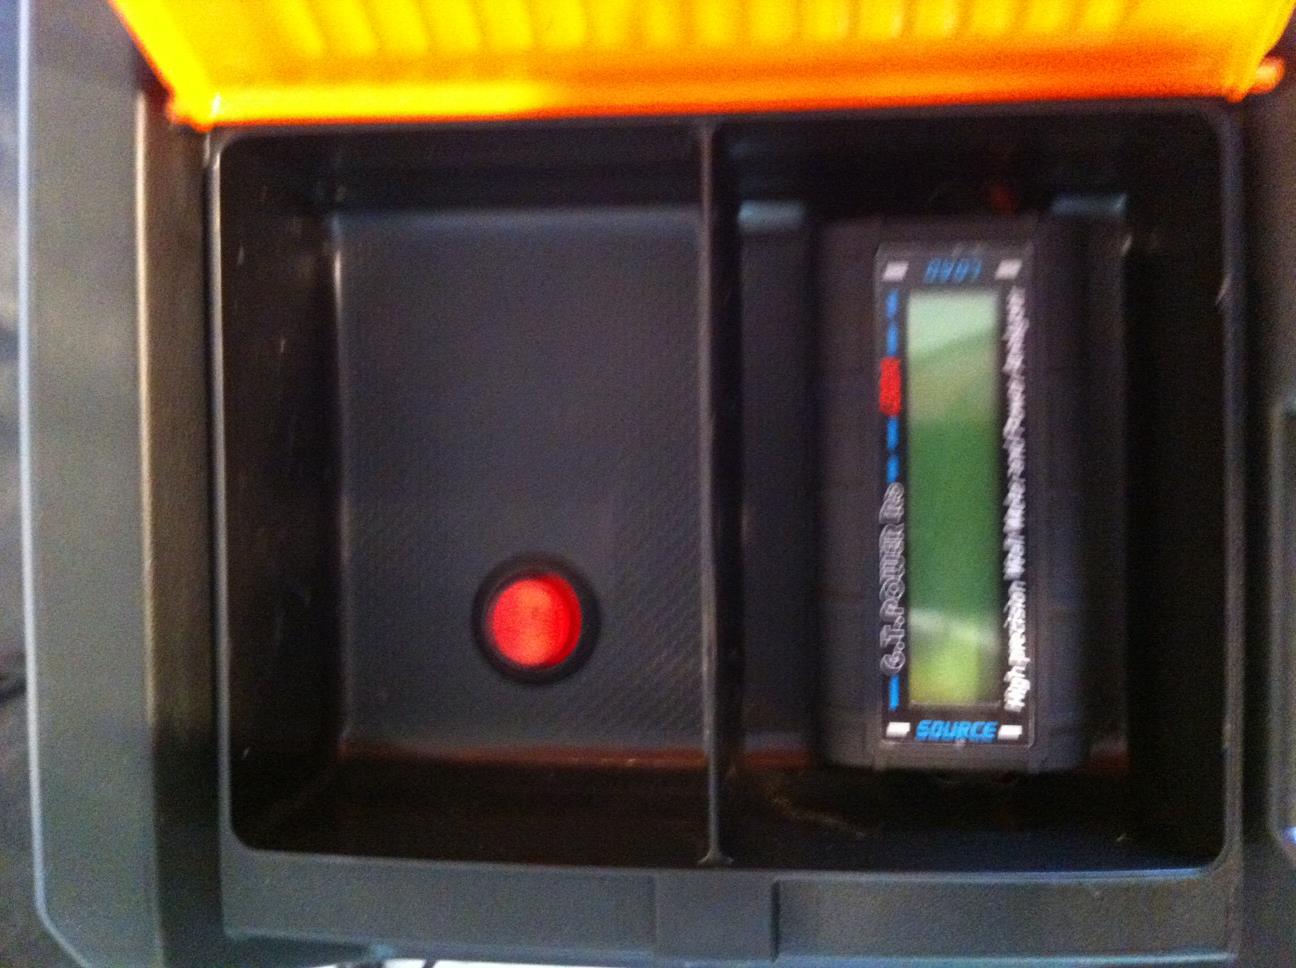
Master switch and power analyzer
Checking the power output
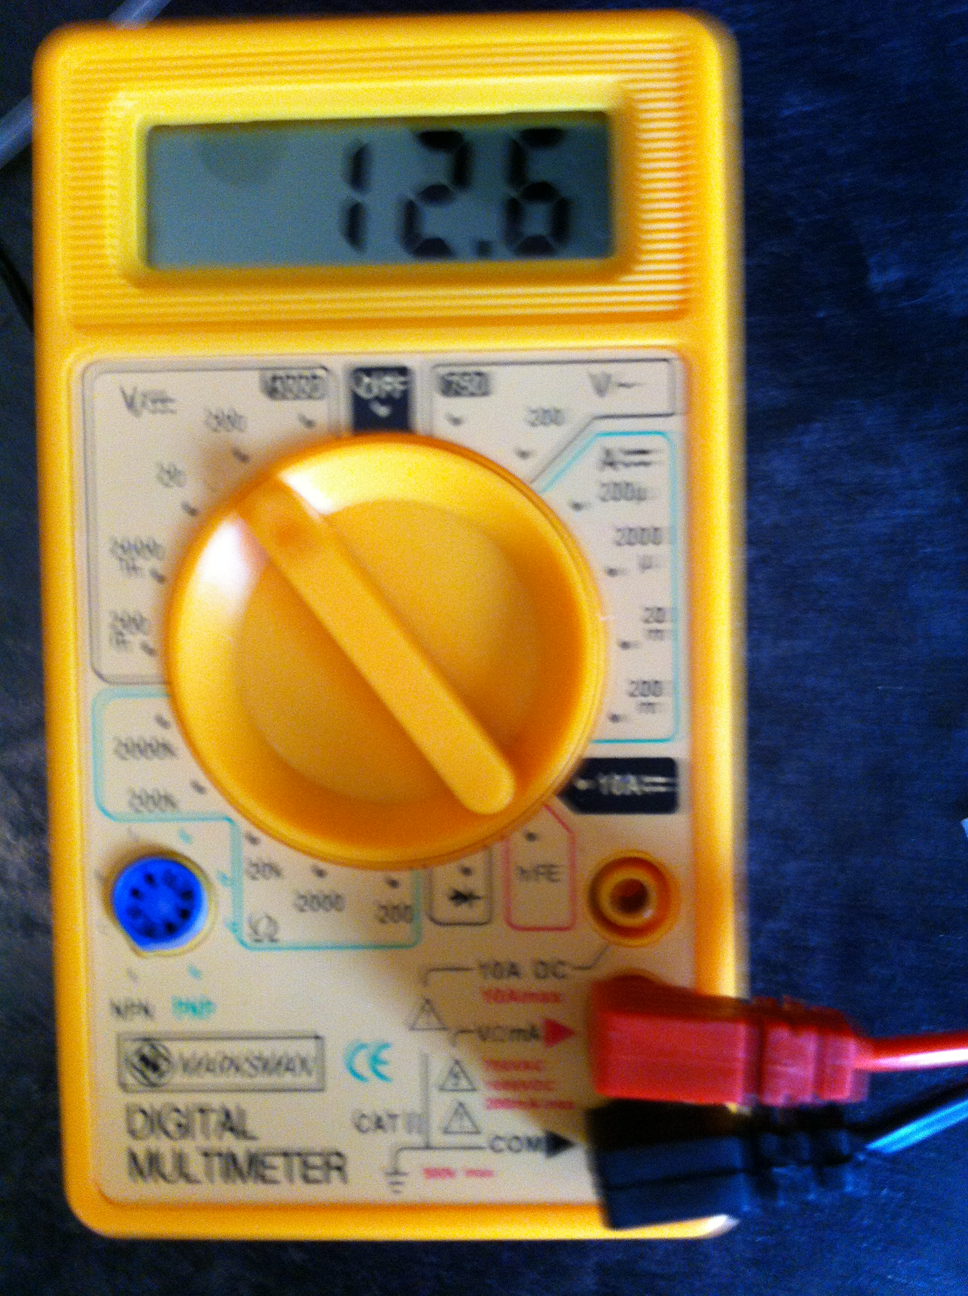
Getting 12.6v on the multimeter
Here is the trickle charger and it plugged in (only a 2.4w panel)

2.4w trickle charger – until the solar panel is completed
Here is where the solar panel connects using the Hella Socket.
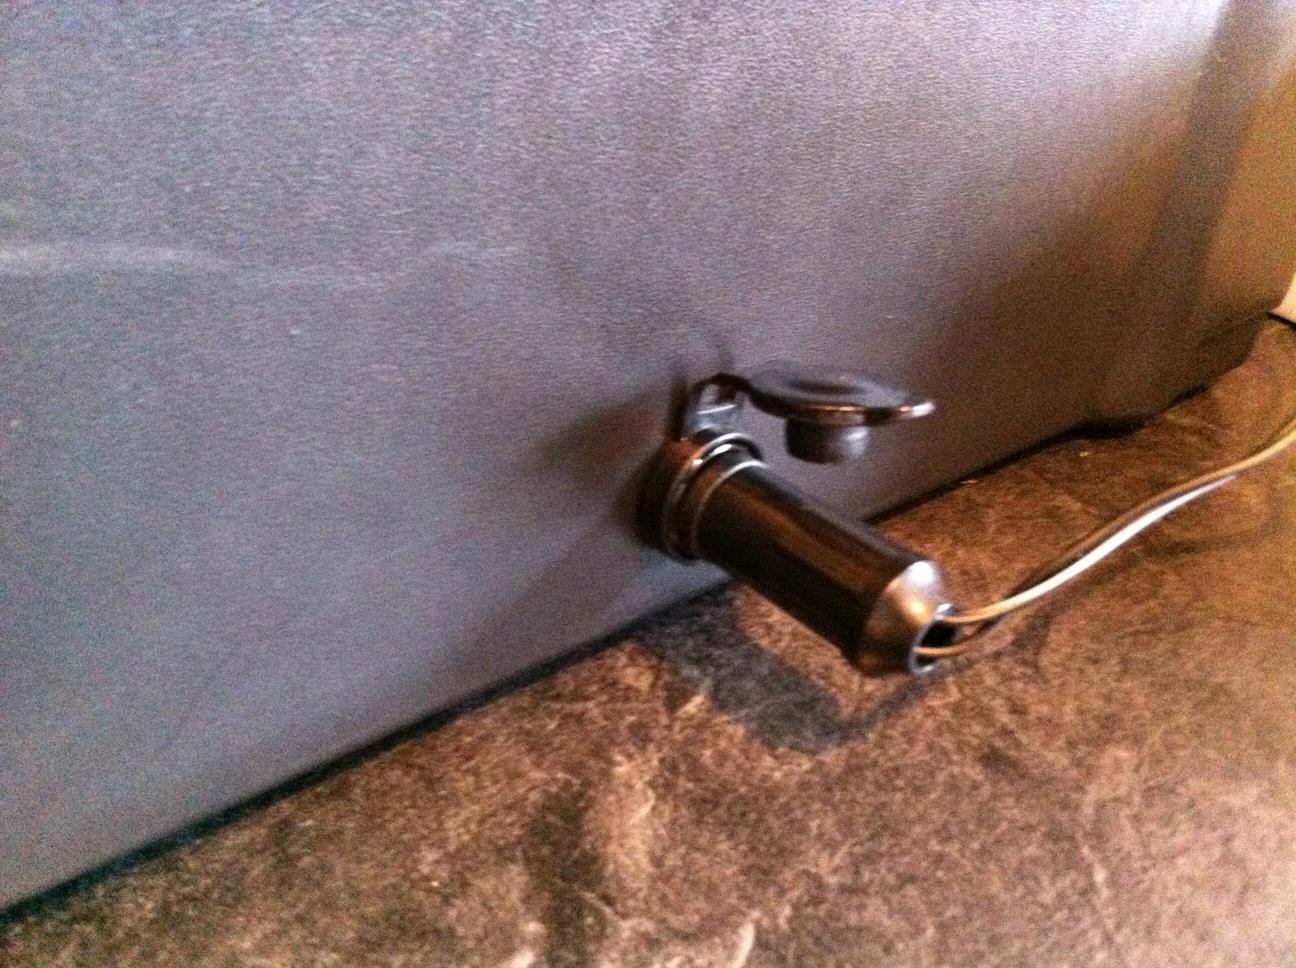
Hella socket used to connect solar panel
And the battery power analyzer telling me we’re good to go
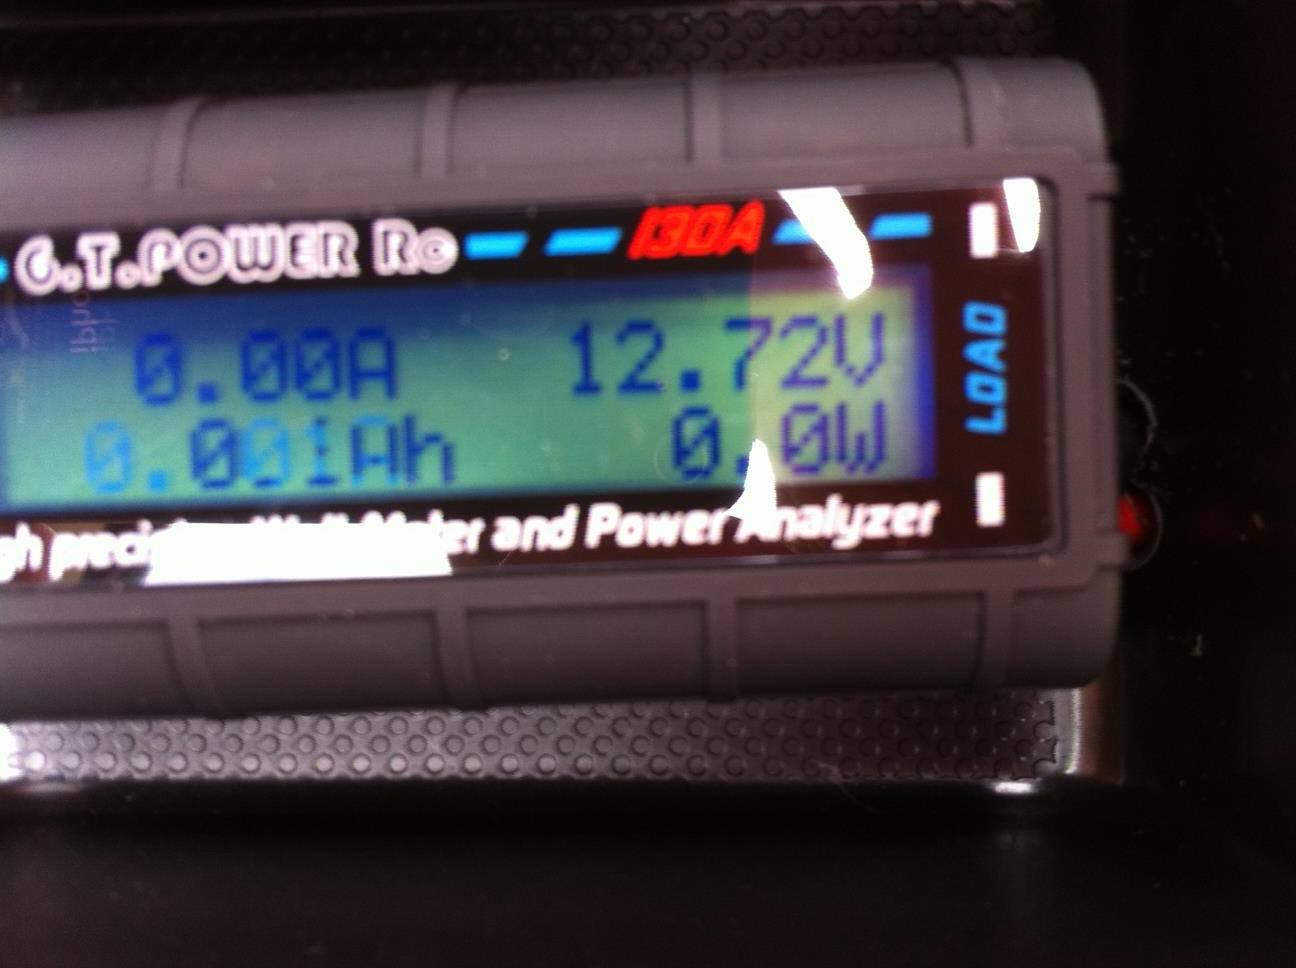
Power Analyzer = ON!
The finished products….looking very unobtrusive….OPSEC!

The next stage will be to complete my solar panel which I have already started working on tabbing the cells together etc. I will share that with you all once completed.
Hope you enjoyed reading about my project as much as I have enjoyed building it.
If you’re looking for a done-for-you option, here’s my favorite pick at Amazon.
If you’re thinking about making your own I would encourage you to do so, you will learn a lot and if you have any question please ask in the comments below.


Comments on this entry are closed.
I’d be very interested in seeing your solar panel build when it’s done.
Thanks Mark, I will put up the details here once it’s all complete.
What does the inline fuse do? Im thinking about addin a 50a fuse between my 36ah batteries and 400 watt inverter. Will this do anything? Thanks
It protects the battery and the outlet from shorting from a current surge. The fuse will blow before any of the expensive peripherals.
I’m a mother of 5 (nearly) grown boys with a strong compulsion to build this thing! But I’m afraid to begin, being unable to complete it with enough efficiency to be useful due to my lack of electrical knowledge and skill. I do have a passion, though, and I love to learn. Do you reasonably think I could accomplish this by just following your directions (without having to scrap the project half way through)? Thanks for your post and I’d appreciate your honest introspection here.
What about the computer fans where did you install them?
They are for a later mod if we found the batteries getting too hot – they’re not really needed. If you wanted to use them in a smaller case for example, you would simply mount them on either side with one facing out and the other facing in.
This would pull in the air from one fan and push it out with the other, so the cooler air would flow over the batteries and out the other side.
Where and why do you use the chocolate block connectors?
They are used to connect the power to the on/off switch, which is then connected to the DC socket to power the products.
They are simply an easier way to connect the wires rather than soldering and make it easier to replace items.
That is a good write-up with pictures. Thank you. This was an inspiration to help me design and build mine.
I only changed a couple of things on mine. That is a lot of Amp hour for a electronics charger but I understand it is to last all weekend. 😉
The other thing I needed to change was the weight, my wife complained my old one was to heavy for her to move or carry around. I did not think about that on my first build. (I used 2 x 12v/12Ah batteries.)
Soooo, *PowerBox 2.0* was born.
I took my solar panel I already had for charging my laptop battery and used it for this project too. 18v 16,5 watt tri-fold panel.
Now, I decided to use 12 18650 batteries in three series of 4, that is 16.8vdc at 12Ah. The batteries I used are 4.2v at 4000mAh each.
For charging, I used a 4 cell charging board per 4 batteries, so I needed 3 of them. at a cost of 2.49 each.
http://www.ebay.com/itm/New-Cool-BMS-Protection-PCB-Board-for-4-packs-18650-Li-ion-lithium-Battery-Cell/201434924156?_trksid=p2045573.c100033.m2042&_trkparms=aid%3D111001%26algo%3DREC.SEED%26ao%3D1%26asc%3D20131017132637%26meid%3Dd95353dad5d9402a92a11a4fabc3130d%26pid%3D100033%26rk%3D2%26rkt%3D4%26sd%3D231773942384
Now, to provide the voltages I needed, 12.6vdc-13.8vdc, I used a stepdown voltage board. I used two for my two 12v sockets at 5a each and I used two for my usb ports (2 per board gives 2.5a per usb port) and I have an extra one for something else. cost, 1.76 each shipped
http://www.banggood.com/5A-XL4005-DC-DC-Adjustable-Step-Down-Module-Power-Supply-Converter-p-943557.html?currency=USD&createTmp=1&utm_source=ebay&utm_medium=cpc&utm_content=saul&utm_campaign=xie-US&ebay
I switched the and fused the input of each stepdown board to save battery power.
This is housed in a very small plastic box weighing about 2 pounds not including the solar panel. (panel measures 15in x 18in weighing in at 14 ounces. with the connecting wire, about 1 pound.) TOTAL WEIGHT **3 pounds**
Total cost, about 80 dollars and it has been tested to provide power to charge 4 phones, 2 tablets and a kindle fire for a whole week on a single full charge. I was impressed indeed.
I know. I know. Anybody can make one in so many configurations, it is silly to try to think about how many. This was just my take on it after reading about yours and deciding to build one, actually 2, one heavy and one light.
Thanks again for writing this up and giving all of us a place to start and think about our electronic needs.
Paul
P.S. Sorry, I did not mean to hijack your article.
Wow that’s awesome Paul, give me lots to think about. I am currently building my own version of the SOLN1 and SOLN8 (you can Google them, there are a ton of videos etc).
These are the lightest I have seen and suitable for being carried around when backpacking and camping etc. Also, great in a SHTF event as they take up little space and can be mounted practically anywhere.
Thanks for sharing your thoughts on this…it really is an interesting topic!
– John
What price would you charge to build me a similar one? Thanks!
Did you ever finish it? I would like to see the pics of it finished. Thanks.
And this was a great read and the pics helped out a lot with you explaining how you made this. Great job!!
Is there a schematic you used to wire it all together? If so where can I find one?
Can this also be used as a charging station for my ebike??
Do you have a wiring diagram for thus project. I really would like see one, us rookies need a bit more visual help. love the pics, but hard to see for wiring switch and sockets
Thanks